Overview: Designing an 8.5mm motor Micro Quadcopter
I had recently taken a Coursera course on Aerial Robotics, so I was interested in getting something drone-related started. There are some awesome setups for micro quad copters out there, but they all need fasteners to keep multiple parts together, and multiple parts seemed aggravating. I figured, I could design and print a single body to hold all of the components, so I got to work.
I started out with these components:
Micro Scisky 32bit Microcontroller
Brushed DC Motors (2 packs of 2)
Ladybird Propellors (1 pack of 4)
FlySky FS-i6 2.4G RC Transmitter
I also purchased the following components (although they weren’t used or designed for until iteration 3):
Eachine EV800 5 Inches 800x480 FPV Goggles
600TVL 1/4 1.8mm CMOS FPV 170 Degree Wide Angle Lens Camera PAL/NTSC 3.7-5V
Pololu 5V Step-Up Voltage Regulator U3V12F5
Iteration 1
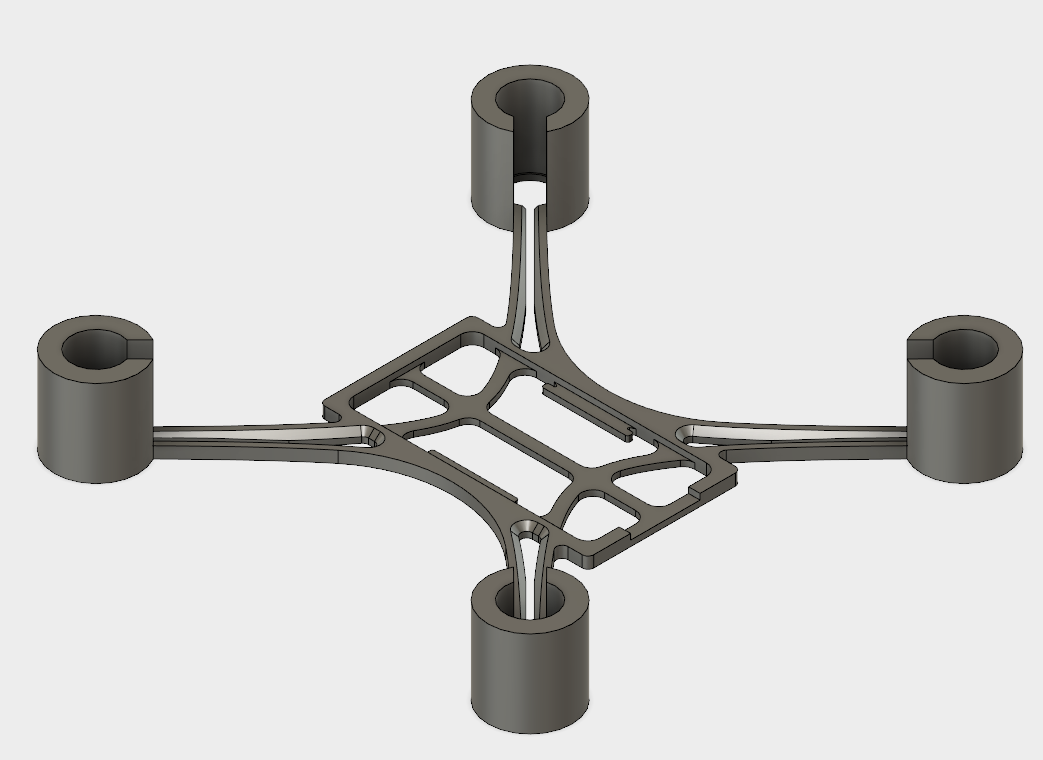
In the beginning I wanted to create a solid body that held the 32 bit Micro SciSky controller and all four of the 8.5mm Motors. Once I was comfortable with the base, I knew I would add in the other component slots (battery and camera). I created the base to have an open bottom and rubber band straps, so that no tape was needed. The components were selected based on the requirements of the various components.
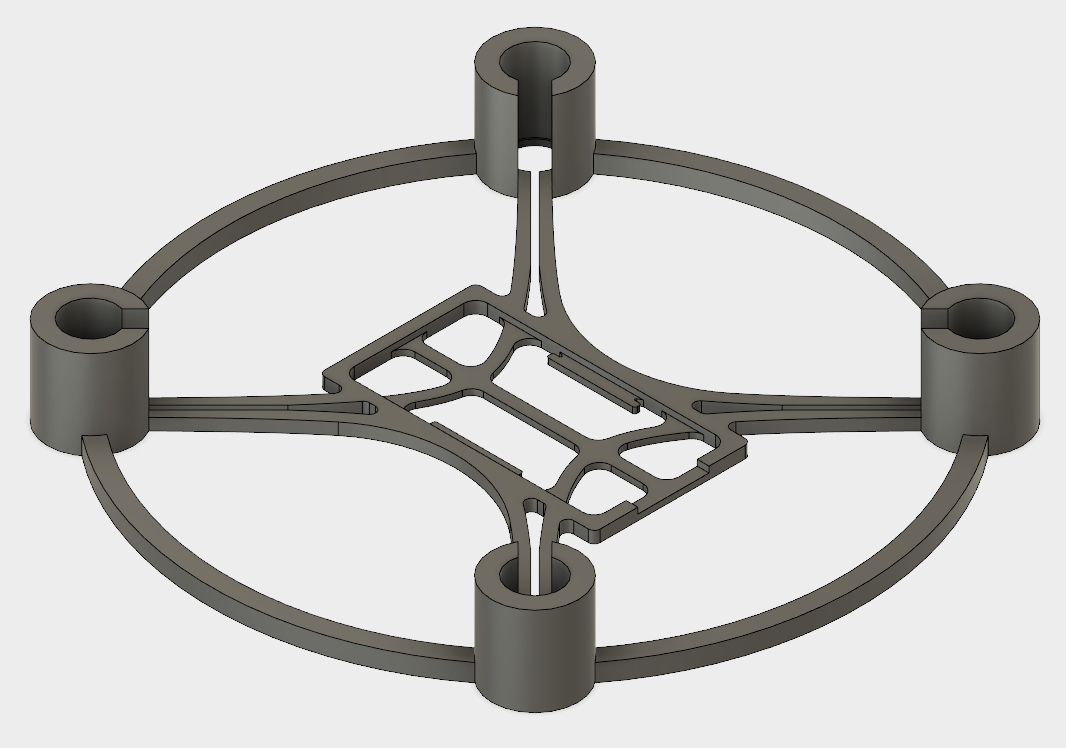
Iteration 2
This body, was more rigid. In the previous iteration, the arms of the drone bent inwards due to the force the propellors caused, and instead of creating a pull directly upwards they pulled towards the center of the copter body. To address this, I created a stabilizing circle on the outside of the core body.
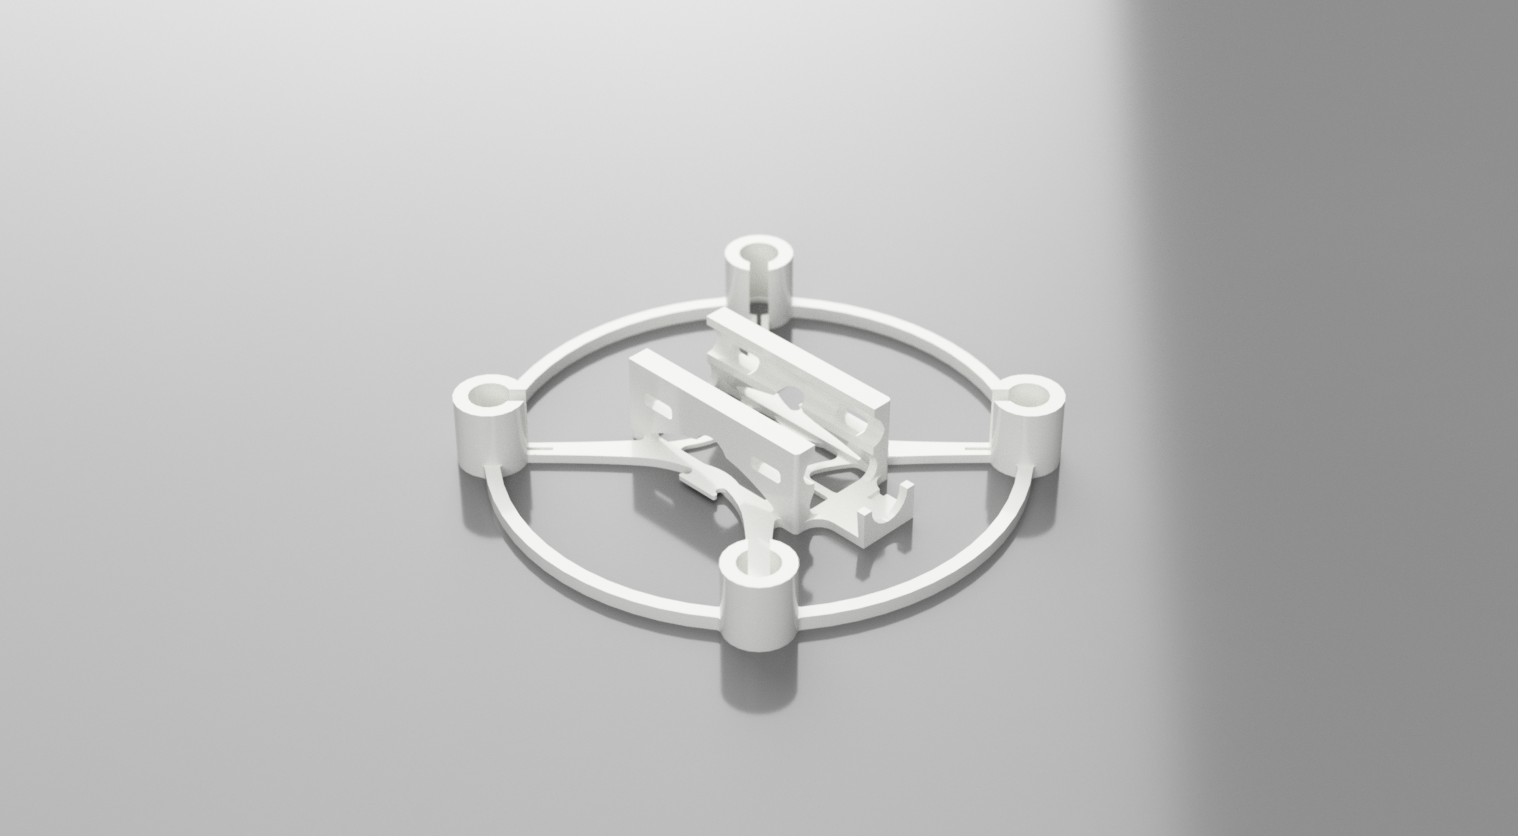
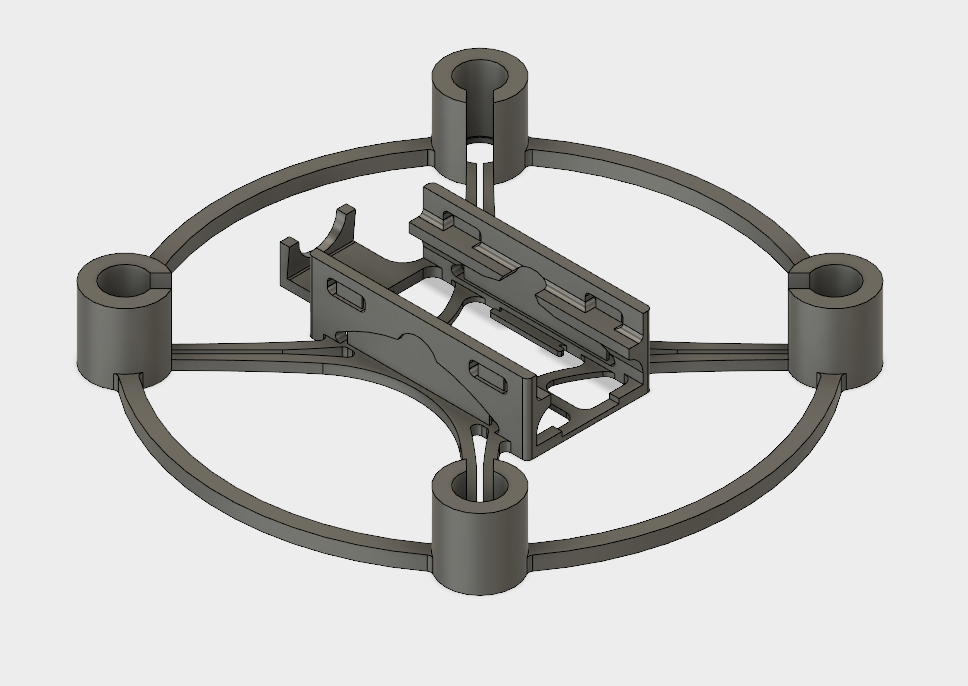
Iteration 3
Iteration 3 began to use the vertical space available in the center. This allowed me to put the control system on the base layer, and the batter on the top layer for easy access and replacement. Because of how small this drone is (and how inexpensive the battery is), battery life was ~5 minutes, so easy access was necessary.

Final assembly!

Iteration 3 was the model that I decided to finish with, it has a good balance of structure and weight - so I had to prepare it for printing. I manually added supports to the arches and overhangs so that the model would print well on my Monoprice select mini. The total print time is about 3 hours, so if anything was to happen to the model, I could just reprint and reassemble. Reassembly takes about 5 minutes and all of the components fit quite nicely together.
Maiden Voyage!
.gif)