Designing a Gaming mouse in 48 hours or less.
The overall goal of this project was to design a functional gaming mouse in 48 hours.
Gaming mice differ from normal computer mice, in that they are designed to be used at a much higher frequency to normal mice, they are rated for higher amounts of clicks, have higher or more customizable DPI (dots per inch) and often contain RGB (Red Green Blue) strips that are customizable.
Design-specific goals:
-
The mouse should have a two part shell that houses the PCB from a Razor Death Adder
-
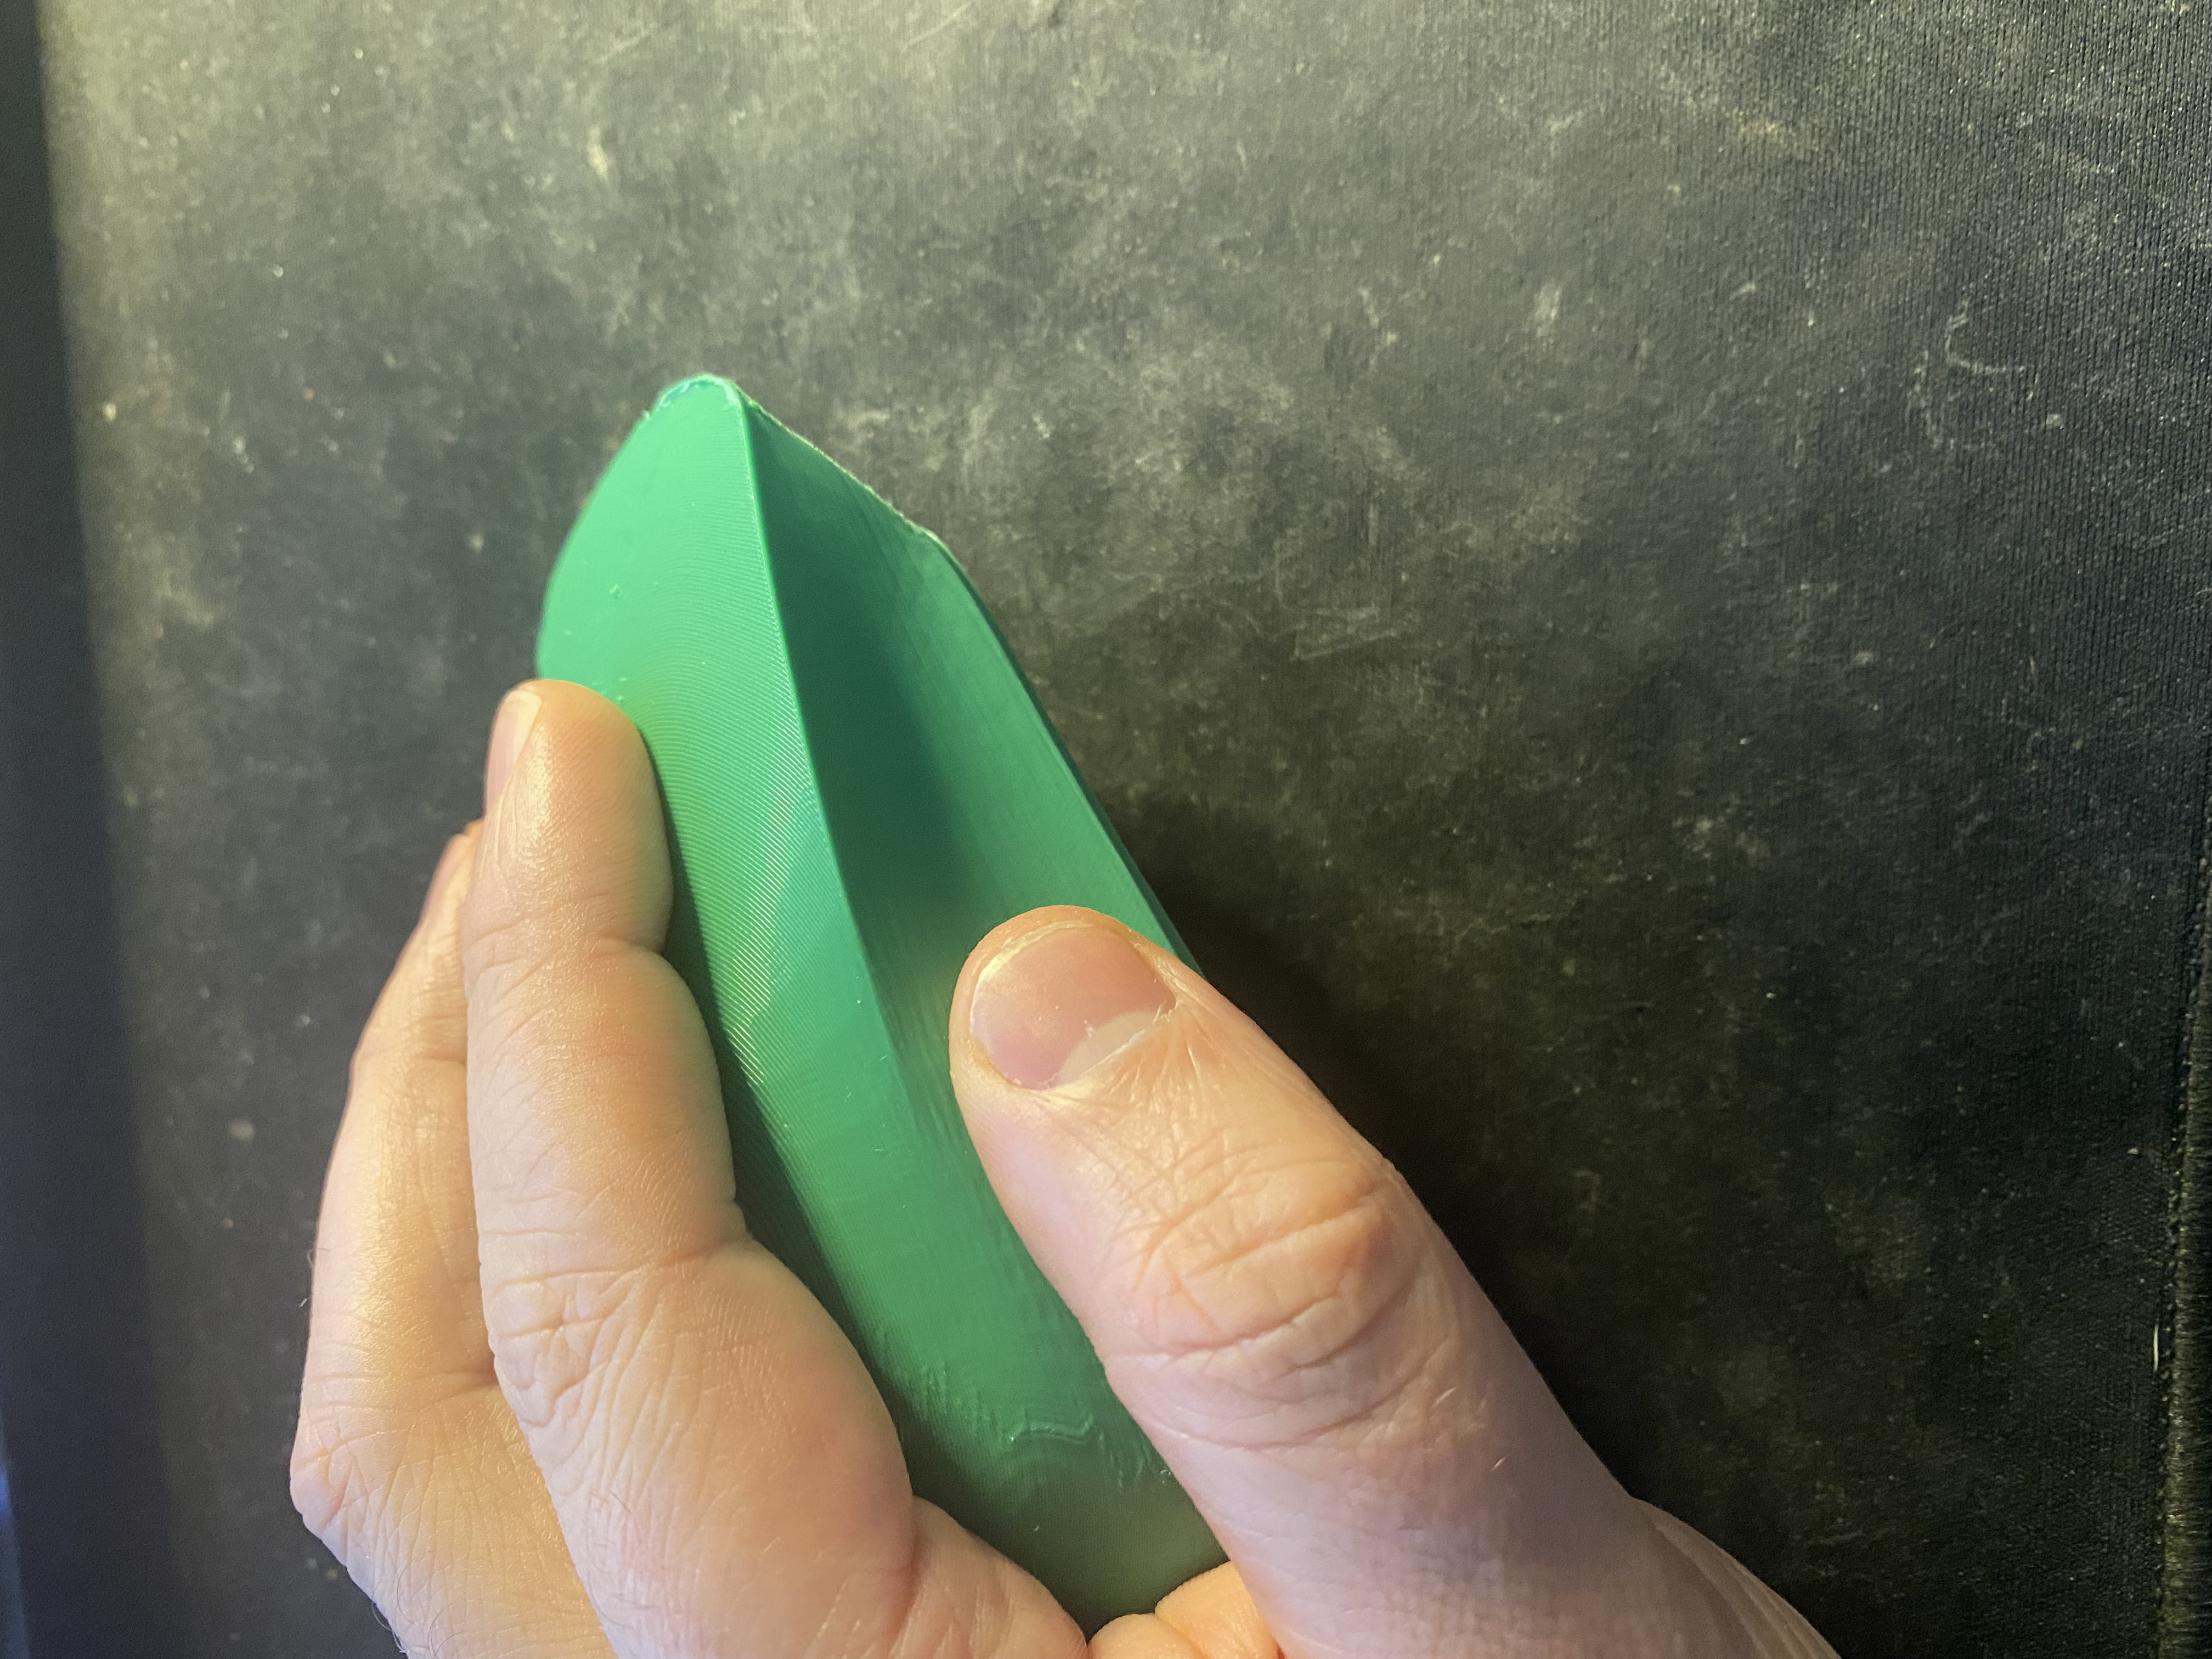
The shell should have a contour that makes lifting the mouse easier.
-
The mouse should have 5 buttons total, MB1, MB2, LC, RC, Scroll Wheel Button
-
The mouse buttons should be easily pressable by the thumb
-
The mouse should have guard-less left and right clicks
-
The mouse should be corded
-
The fasteners + pads from the Razor Death Adder should be used to connect the bodies of the mouse.
-
3D print the body and base, then put it all together
Start time: 6:30pm January 11th, 2023
Proof of Concept
Time to make a really rough sketch to remember basic functions I’m going to be adding in.

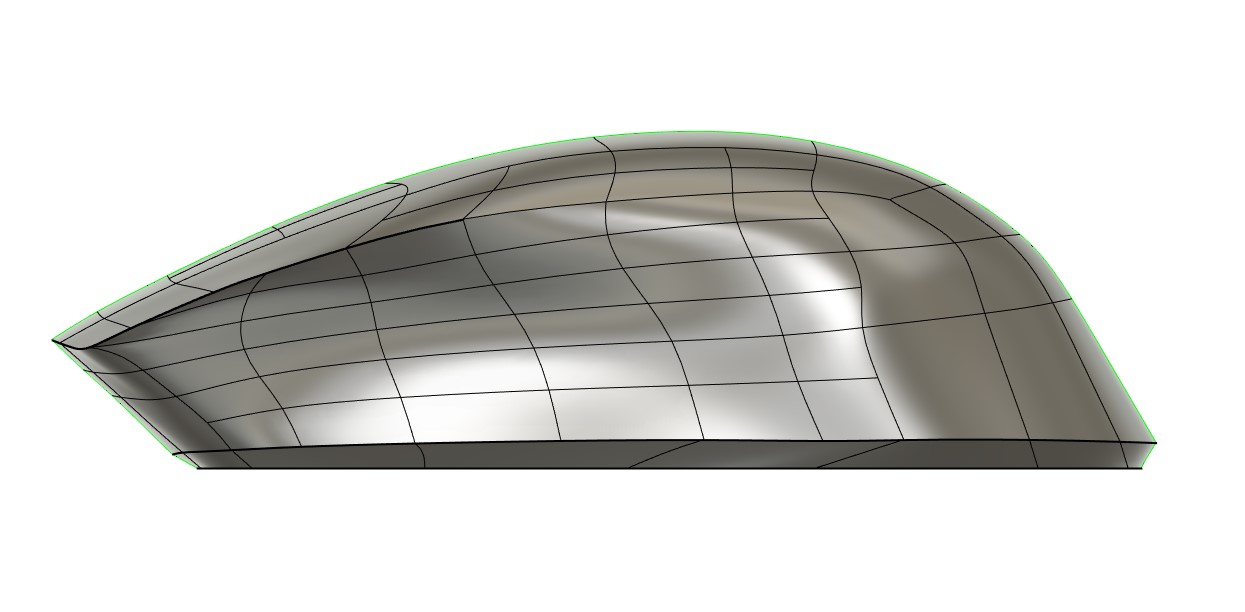
Having used the Sculpt function in Fusion 360 many times before, I knew that creating a mesh body and molding it into the form that I wanted was where I would start. Knowing that this mouse had no electrical components selected, I was free to create a general mouse body without having to worry about fitting components (at least for now). 120mm x 60mm x 40mm should create the general shape of the mouse. Using a fully right view of a gaming mouse and a symmetry line down the center of the box, I could now start sculpting the mouse’s shape.
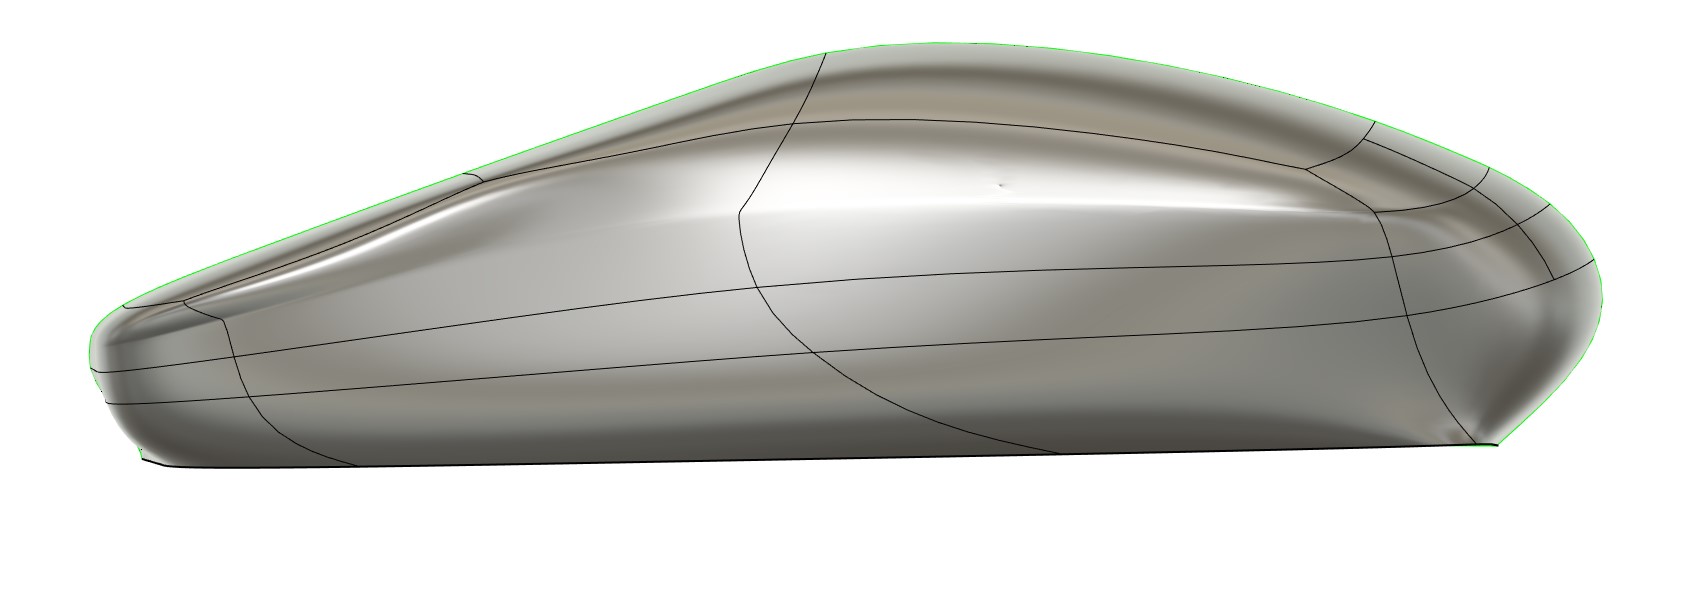
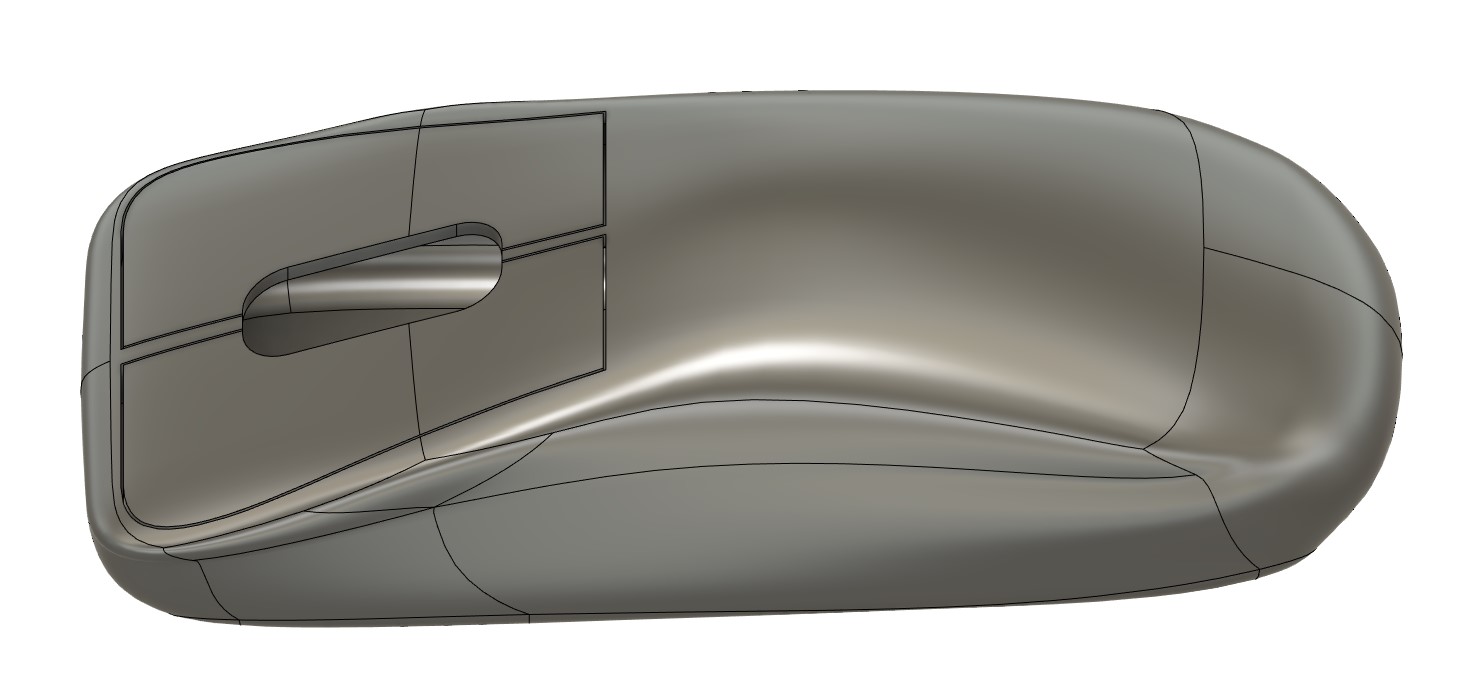
Once the mouse shape was appropriate, I wanted to smooth the curves.
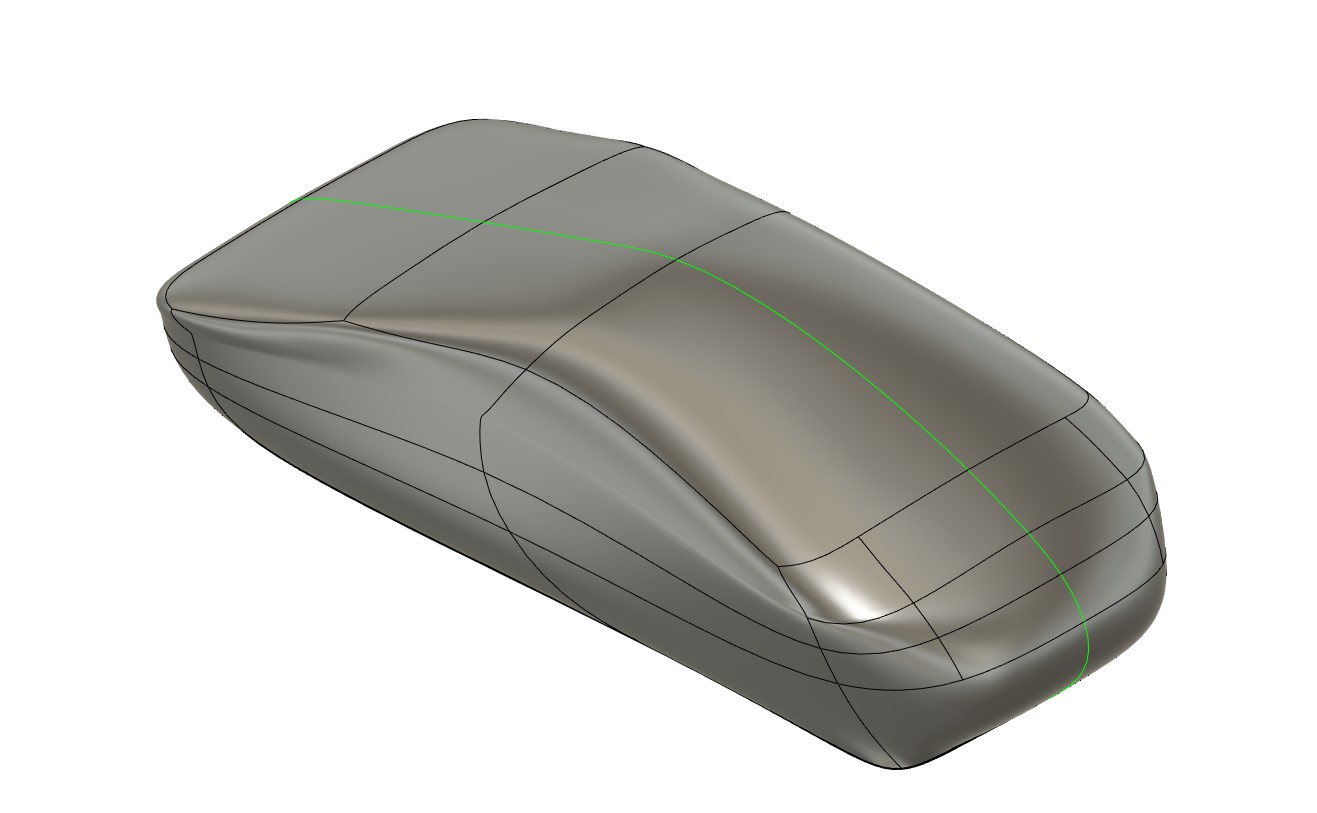
The box started to look more like a nice car, which let me know I was headed in the right direction.

Now it came time to hollow out the body. Duplicating the body and shrinking one of them down to cut a smaller version of the mouse, allows the internals to have a flat bottom, and the sides to maintain their ergonomics.
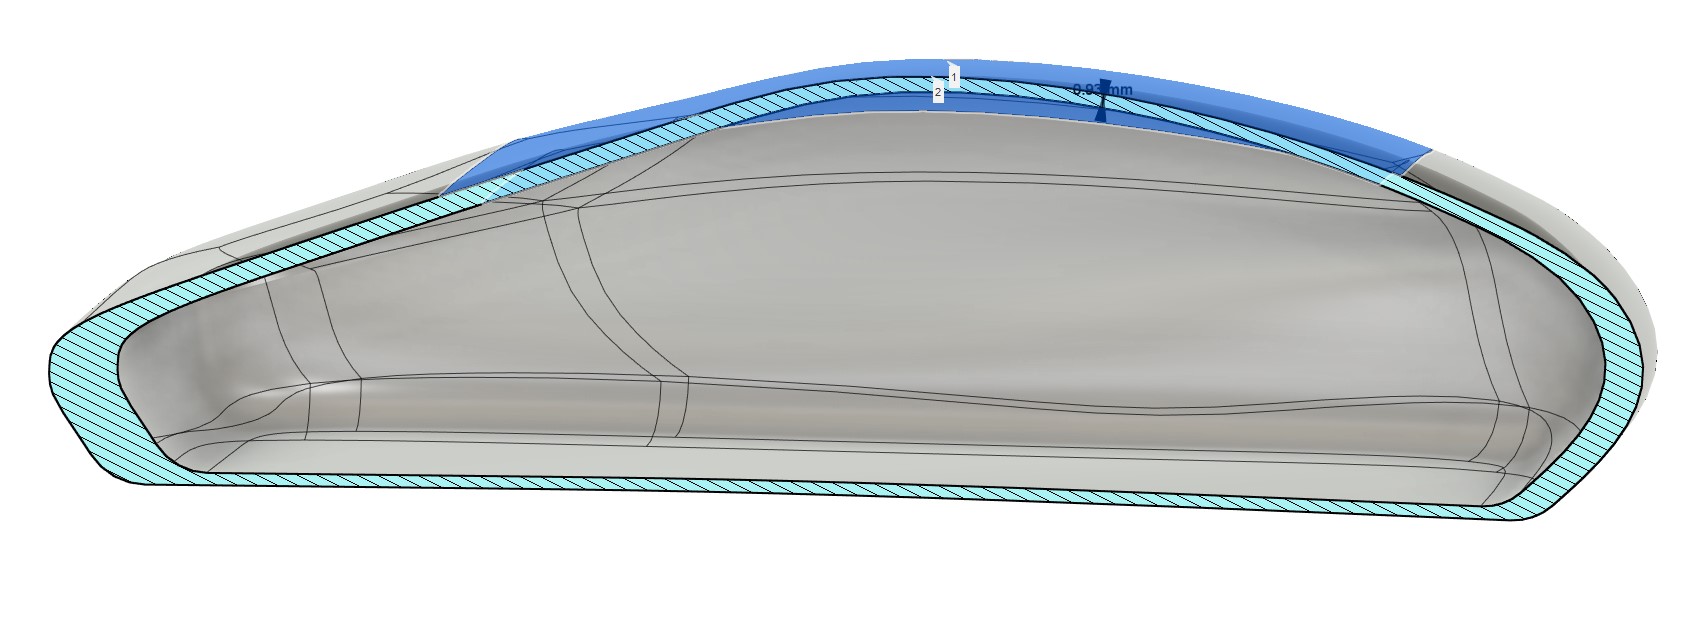
Checking the Cross sectional area let me know that it was at least manufacturable. Checking between the two thinnest surfaces displayed that ~1mm of thickness was the thinnest point. For what this model was going to be used for, this was appropriate, however the lowest I’d go would be 1.75mm thickness.

Now came time to start separating the bodies. Creating the Left and Right Mouse Buttons
Initially, this layout seemed fine, but when thinking about the function a mouse has and the arc the mouse buttons have to progress through, I knew that I had to move the Left and Right Mouse Buttons forward and closer together such that they had free space to move up and down and only the outside frame to contain them.
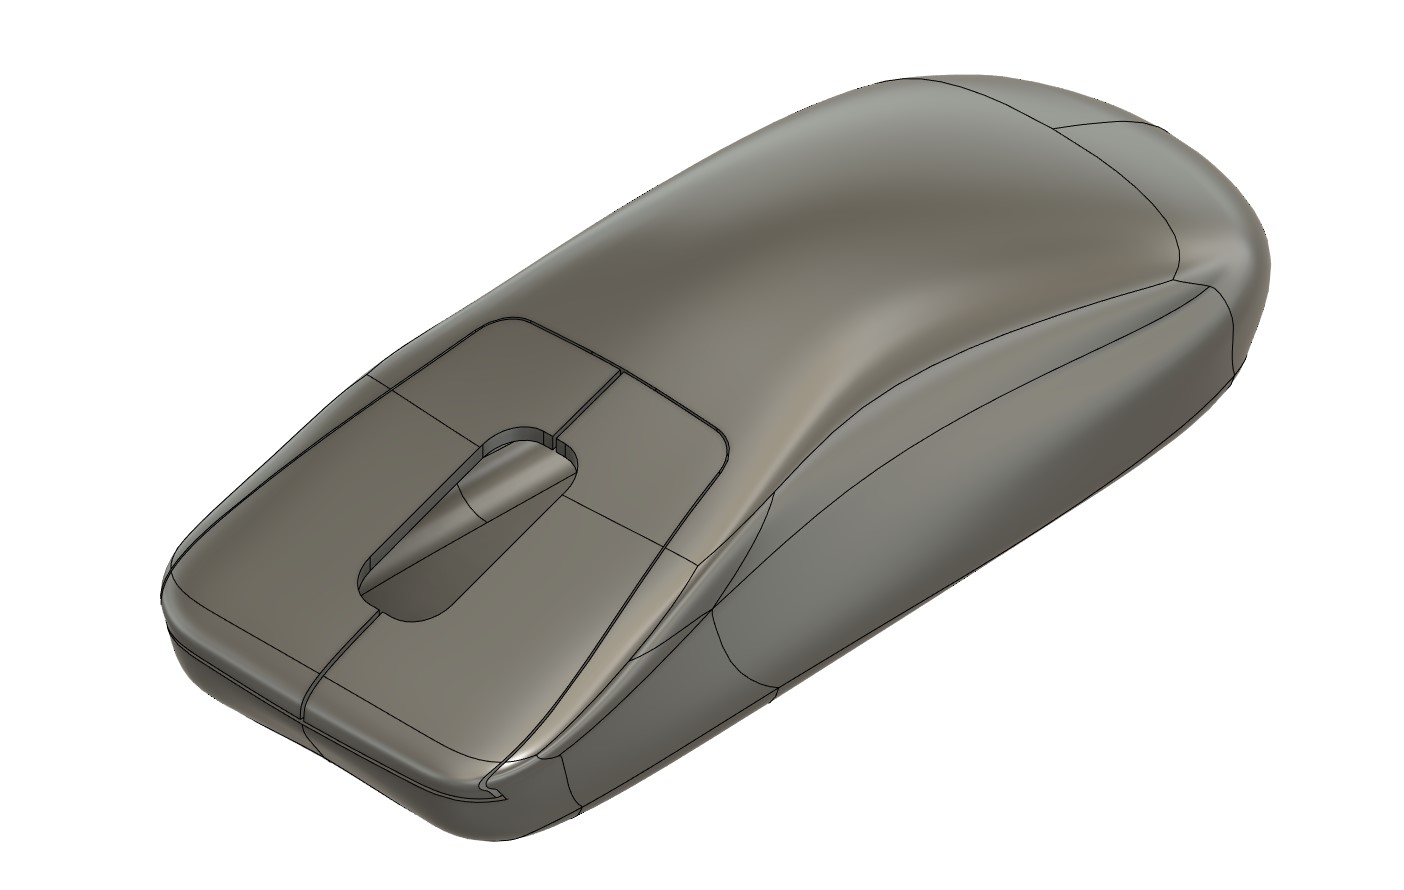
Now it’s really starting to look like a mouse, the retaining body for the Left and Right Mouse buttons has some sharp edges, but to get a general understanding, this would do.
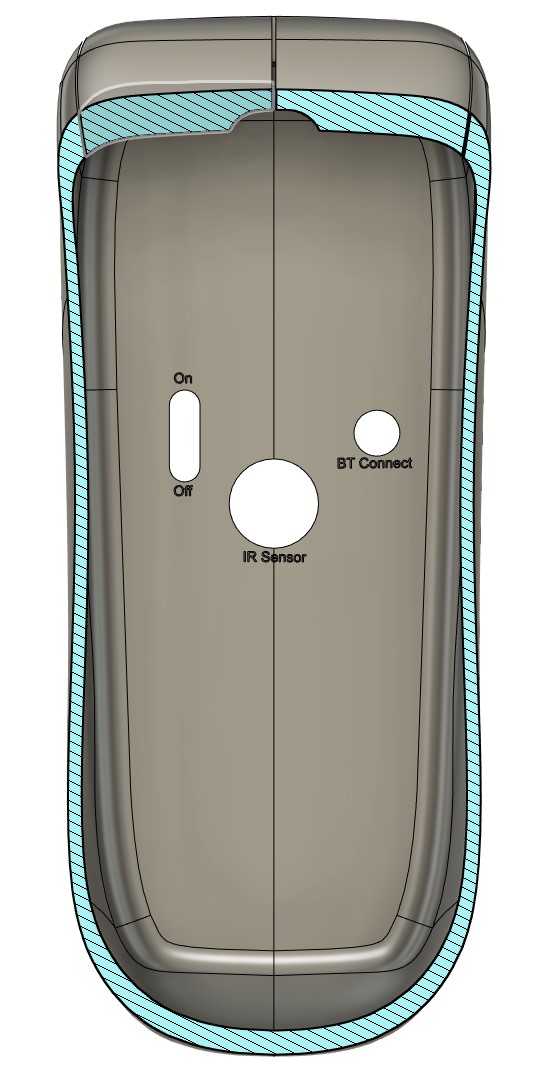
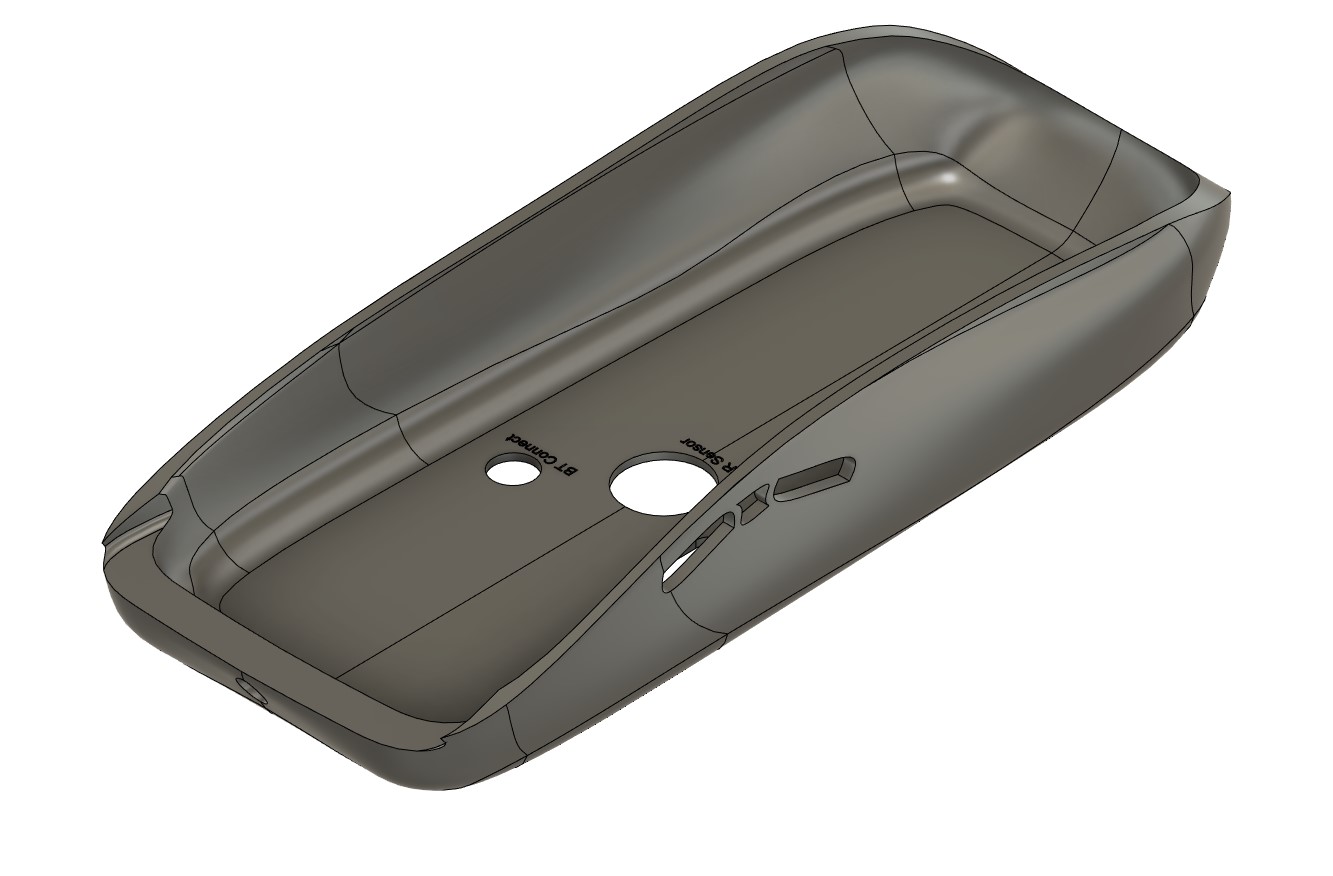
I wanted to create internal markings on where I thought the On/Off switch, CMOS Sensor and Bluetooth button would go. These few components could fit roughly in the center of the mouse and leave space for the left and right switches along with some weights in the back of the mouse for a good feel in the hand.
Now it was time to experiment with mouse buttons. I wanted to create a 3 button right-handed mouse that would allow the thumb to press any of the three buttons whenever it was needed and while I think this would be valuable to some gamers, it would also require a special set of switches that aren’t very common on current gaming mice setups.
Now that the LC, RC, MB1, MB2, MB3 were all created, it was now time to create a top and bottom for the mouse to connect. a simple fit point spline and body split, created an upper and lower body.
Here it is, the first set of renders for this mouse concept - simple and ergonomic no LED placements, but the general concept was created. Now it’s time to buy a mouse off of Amazon and really design around the electronics. The Razer DeathAdder Essential Gaming Mouse has a hefty 33% off deal along with overnight shipping - making it the perfect candidate for ariving and cannibalizing before 6:30pm tomorrow.
Gaming Mouse Design
Now that I’ve ordered the Death Adder and completed a quick sample mouse, I can get some of the auxillary pieces started and save myself some time before having to design the PCB + components when the mouse arrives.
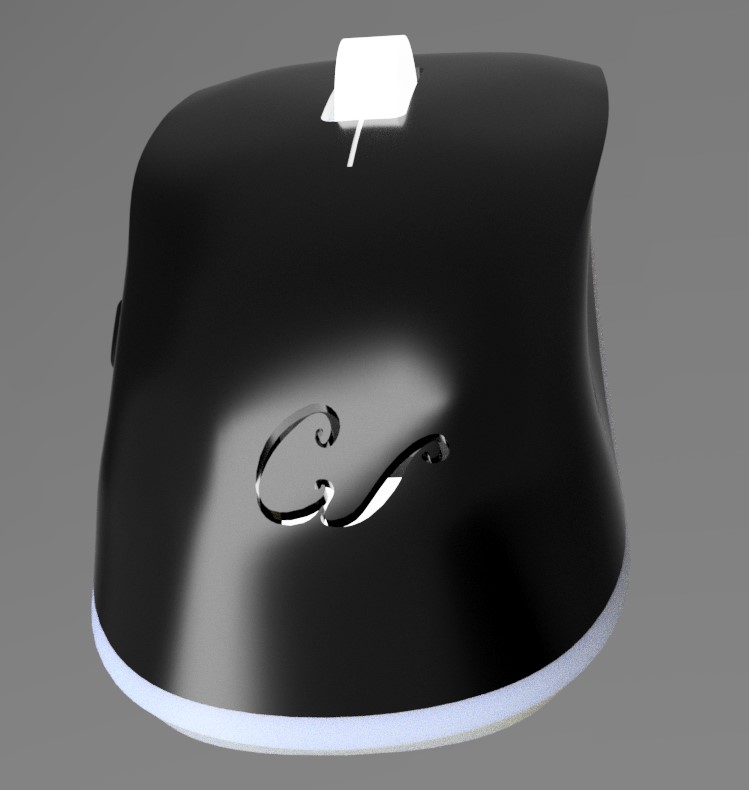
First, I got to sketching out the adjusted gaming mouse and logo that will be etched on the back.
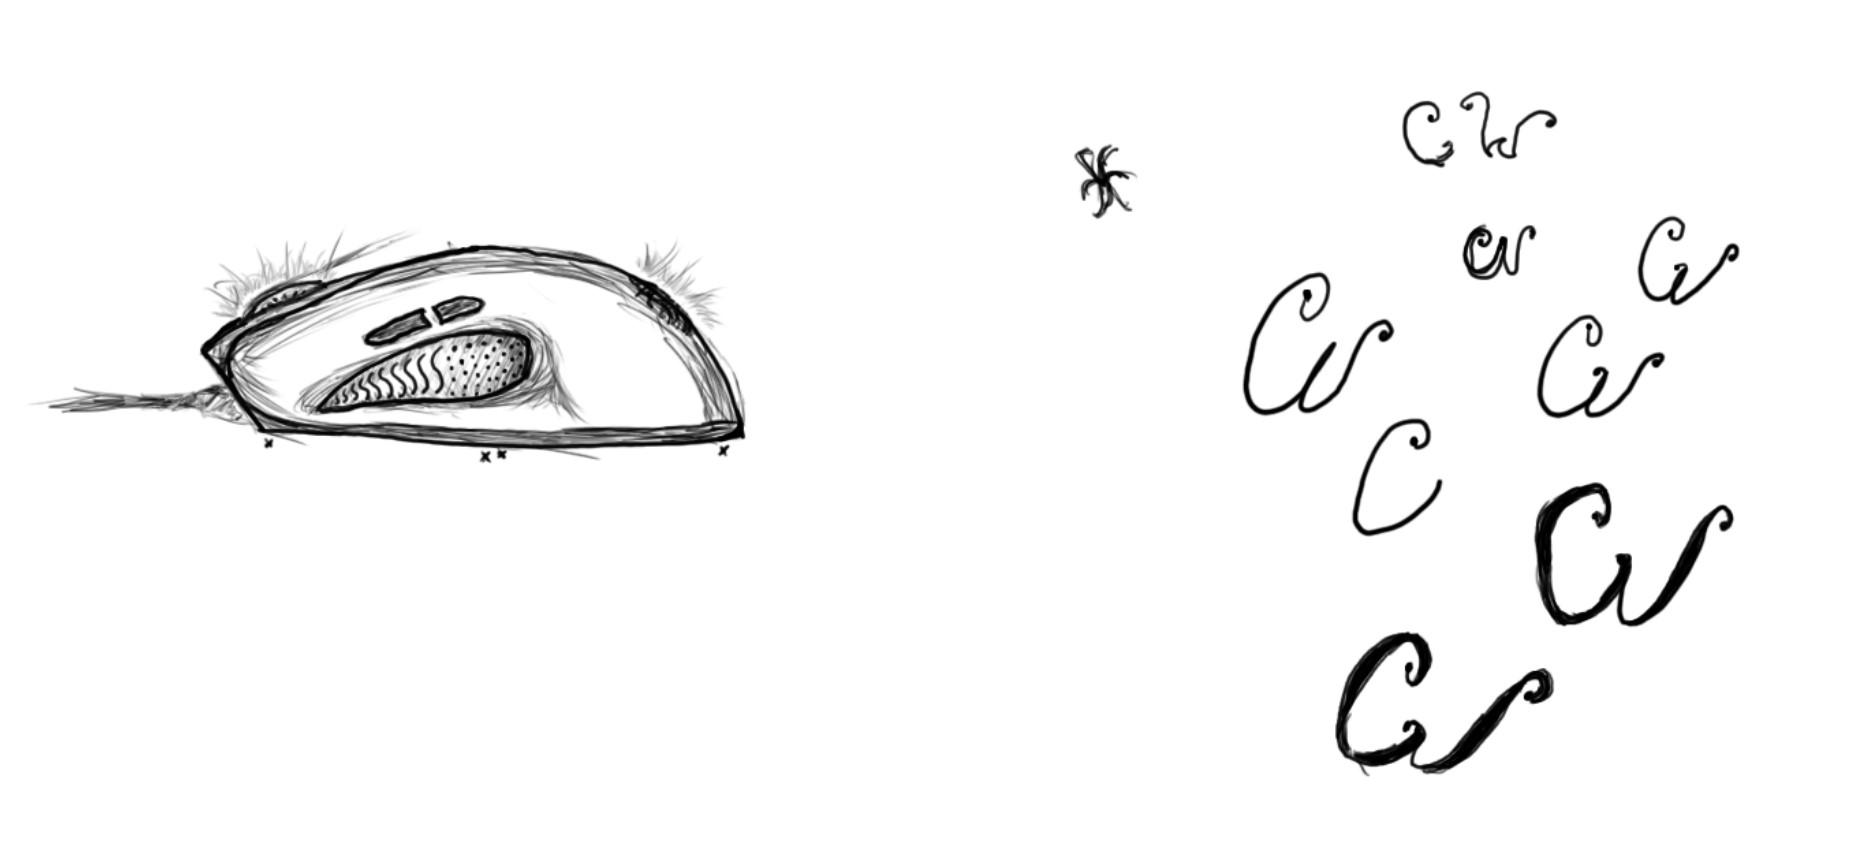
Once I got a design that I thought was appropriate, I moved the Logo over to Illustrator and made an SVG file for easy import into Fusion.

A few adjustments later, and here’s the final logo.

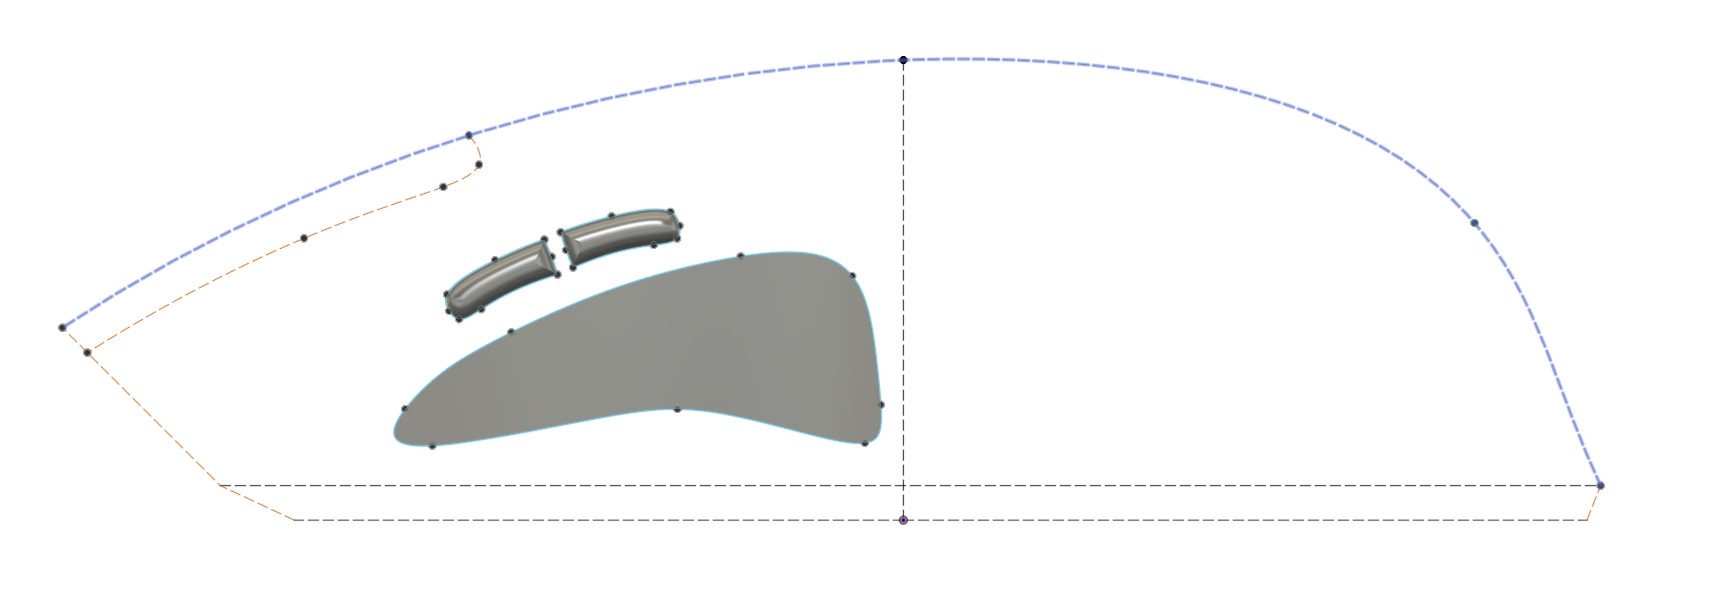
I created a simple template that outlines my planned mouse using correct dimmensions, this will save me a bit of work tomorrow and allows me to plan the design in advance. I also went ahead and designed the buttons and thumbpad which may need to be adjusted depending on the PCB design and the corresponding space requirements.
Unfortunately, the Razer Mouse didnt arrive early the next day when it was supposed to, instead it was suppose to arrive at 6:30pm, but that was fine. I took the time to develop a general shape for the mouse body.
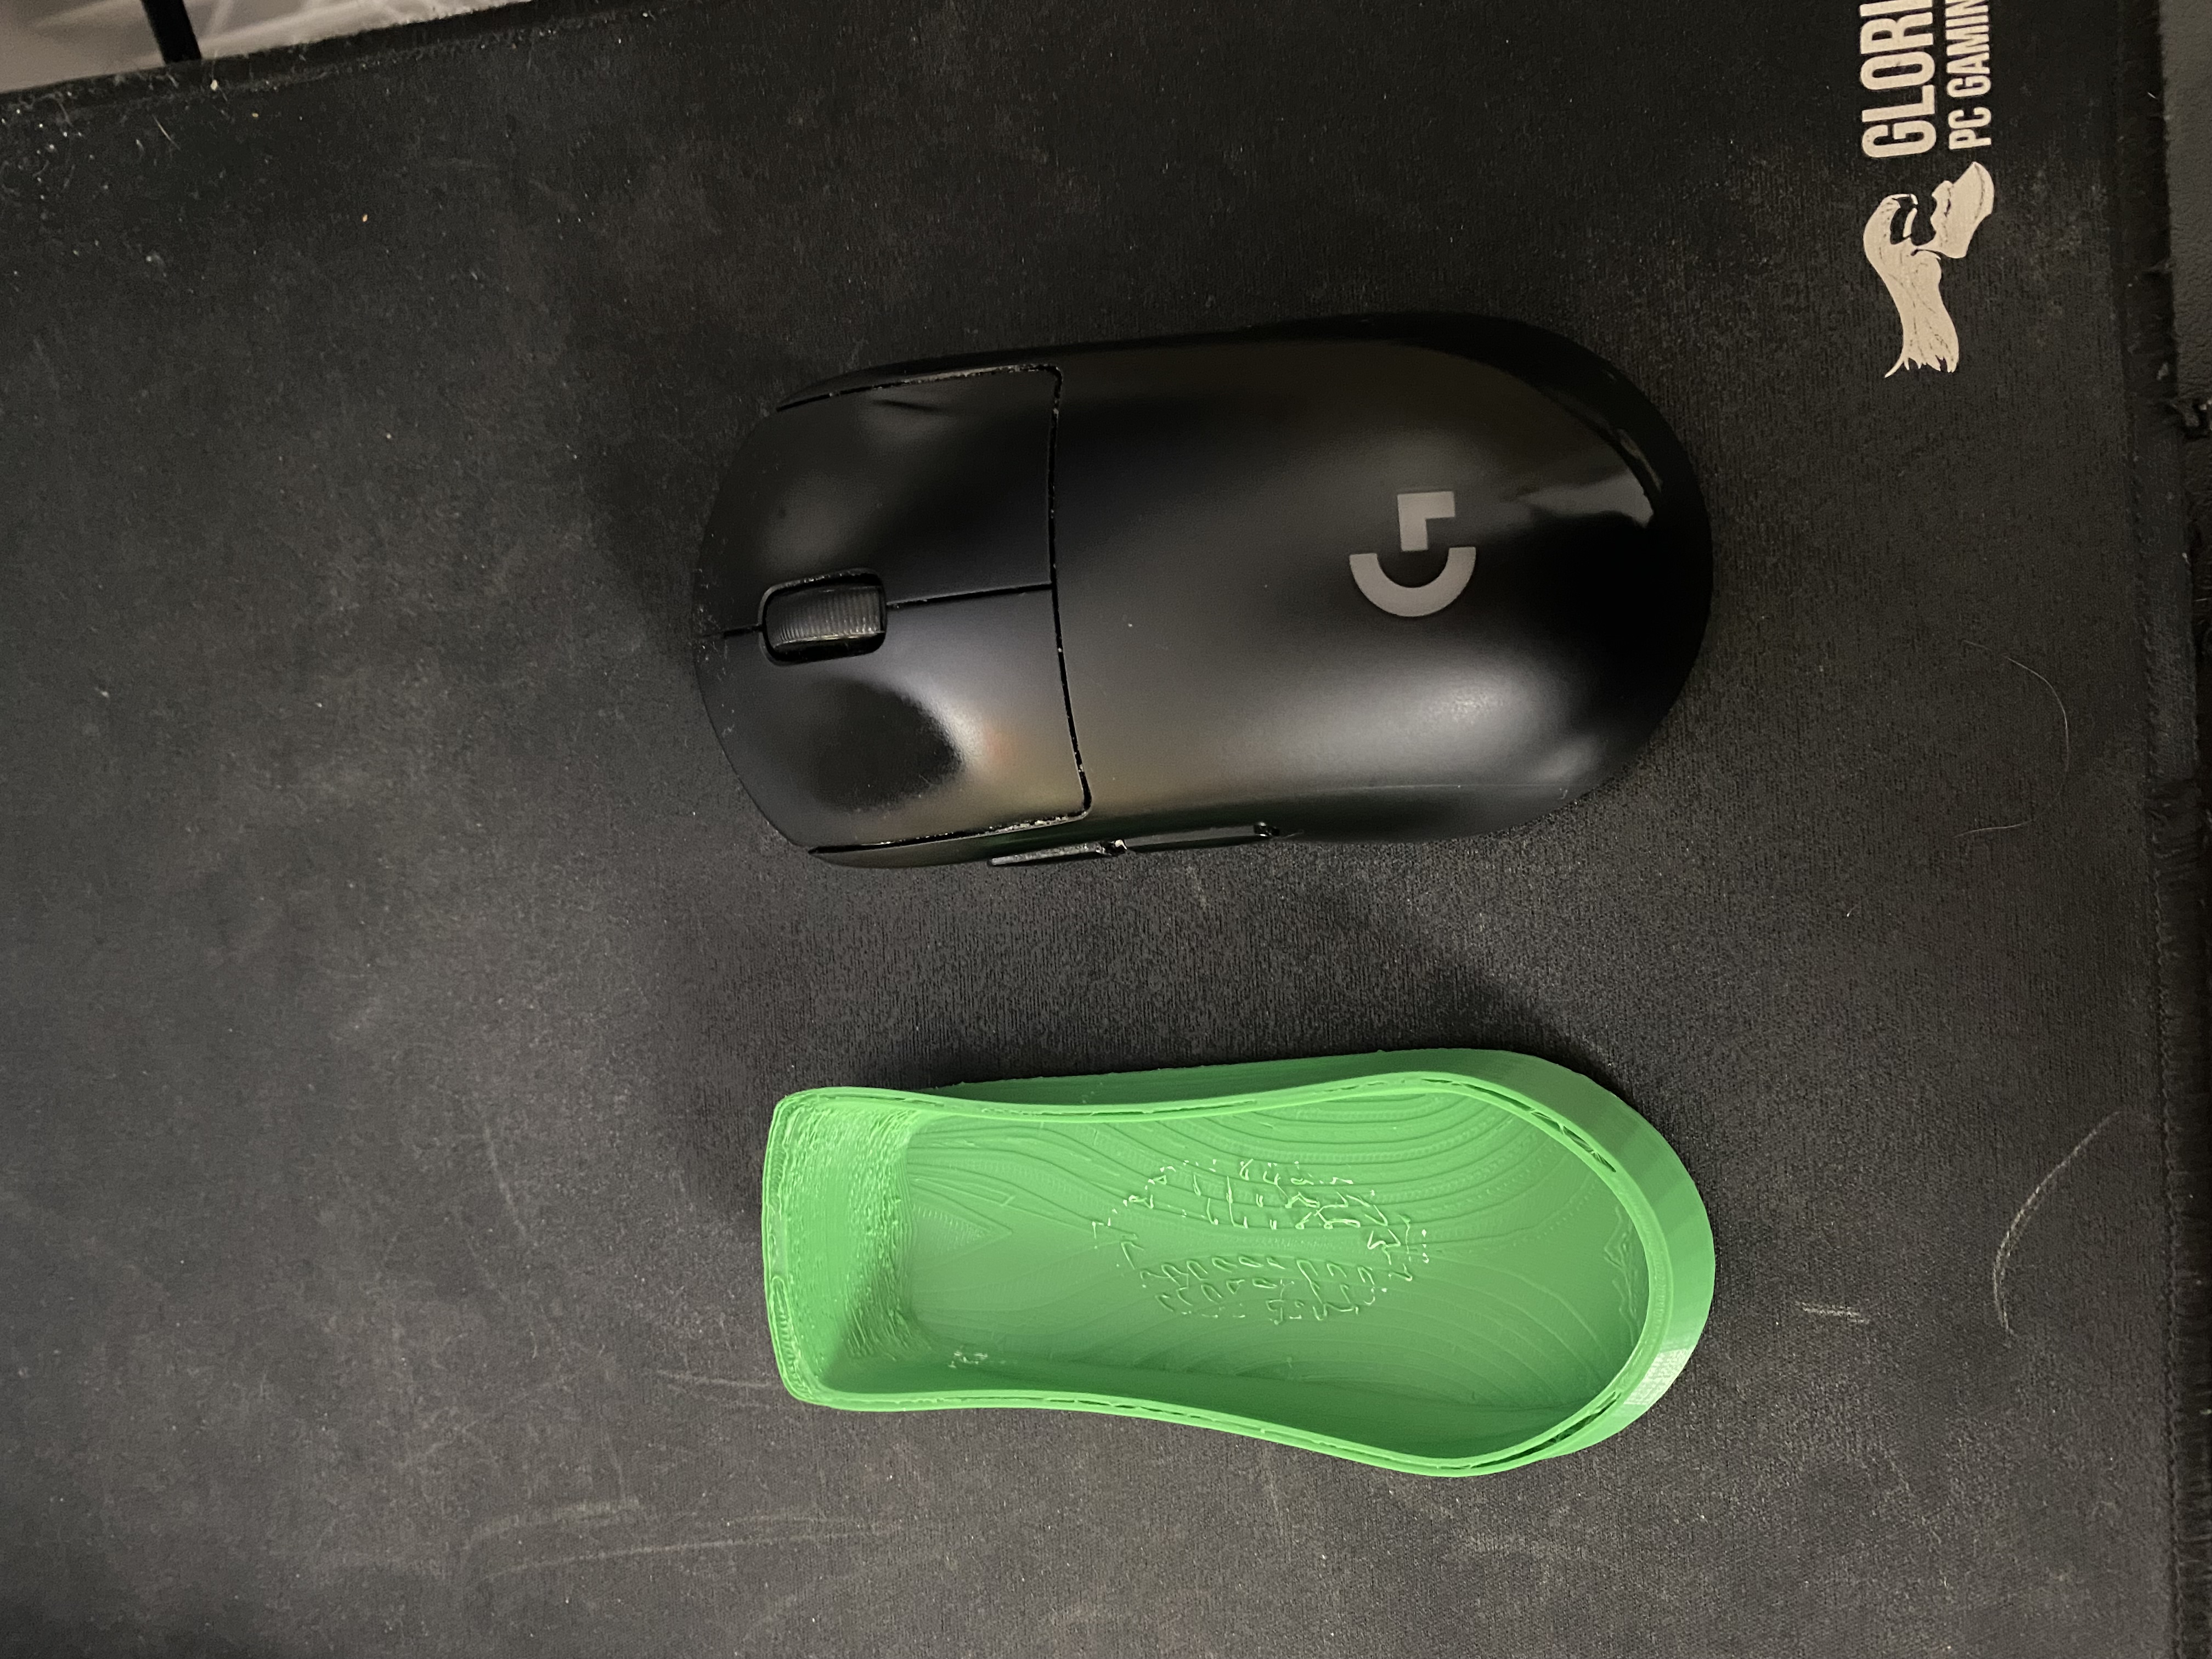
Since I didn’t have the PCB from the Death Adder, I went ahead and printed the mouse to compare with what I currently have, a Logitech G Pro. Clearly, the body wasn’t wide enough, but the thumb and ring finger contours were awesome.
After widening the base a little bit, I reprinted the full mouse this time. It felt good, and really encompassed the body shape I was looking for.
The mouse arrived! Now it’s time to design the PCB. Since this was a 48 hour challenge, I only designed the critical components of the PCB.
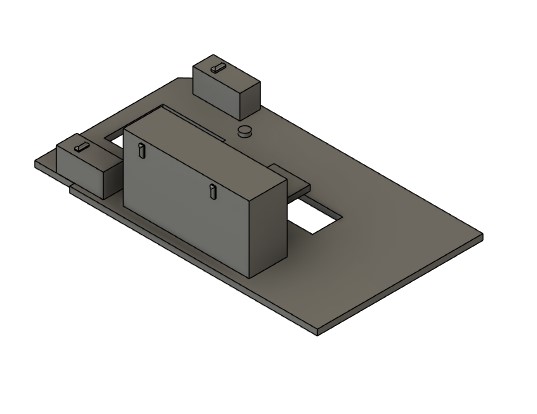
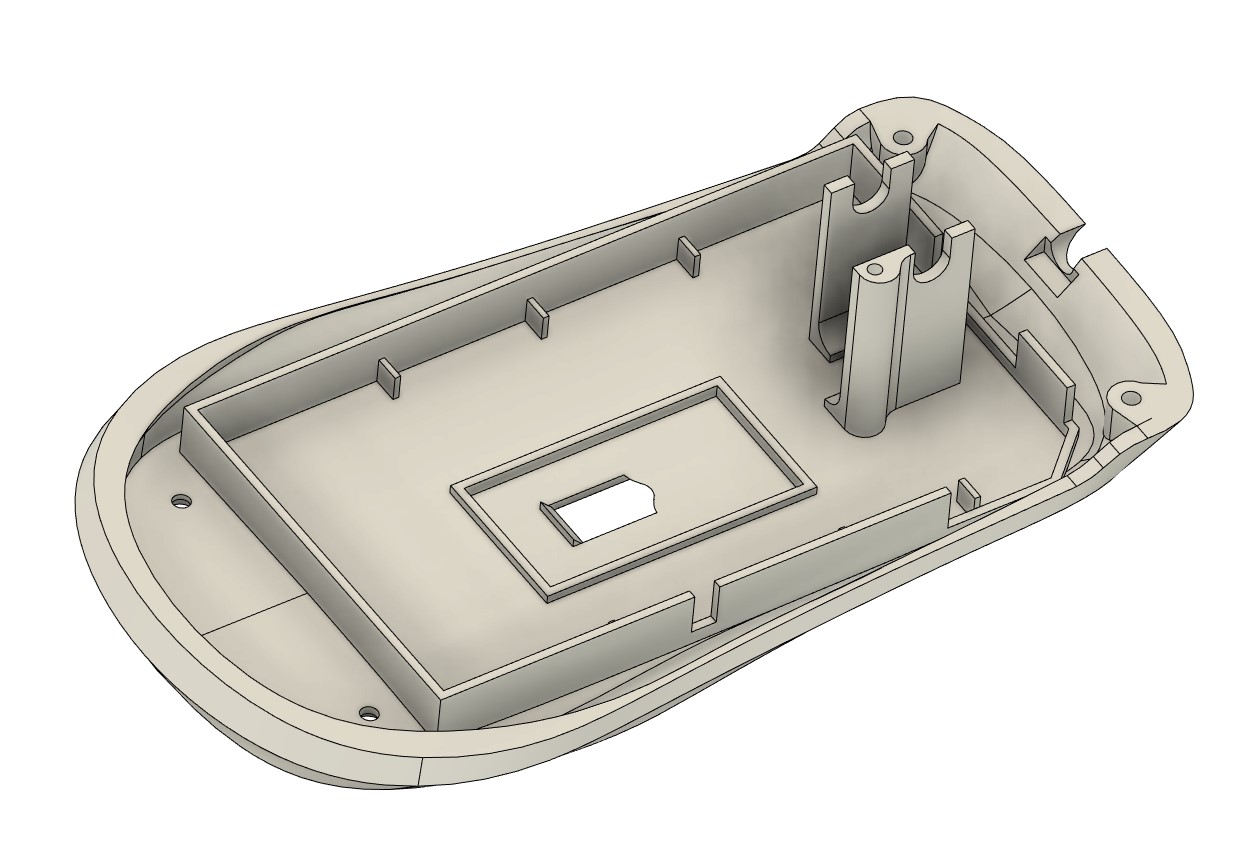
Now that the PCB was completed, I could slot it inside the base of the mouse and work on critical functionality - Mouse clicks, and wire routing. The setup, was to hide the wire underneath the PCB, since it’s a tight space and the CMOS sensor already required the board to be elevated, this made sense to keep the mouse width normal.
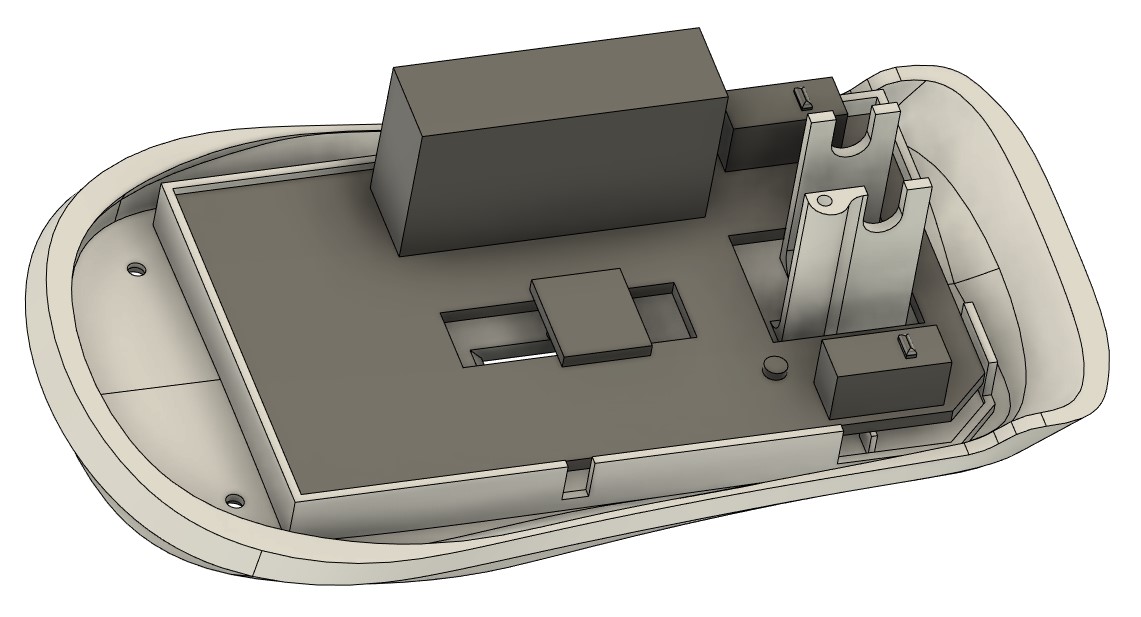
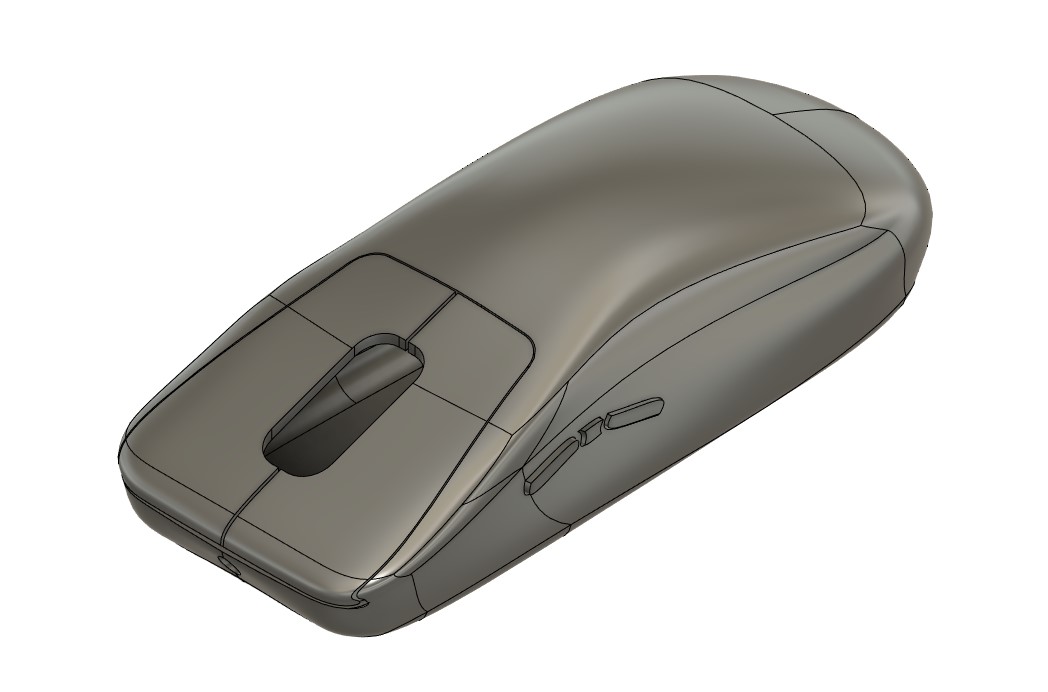
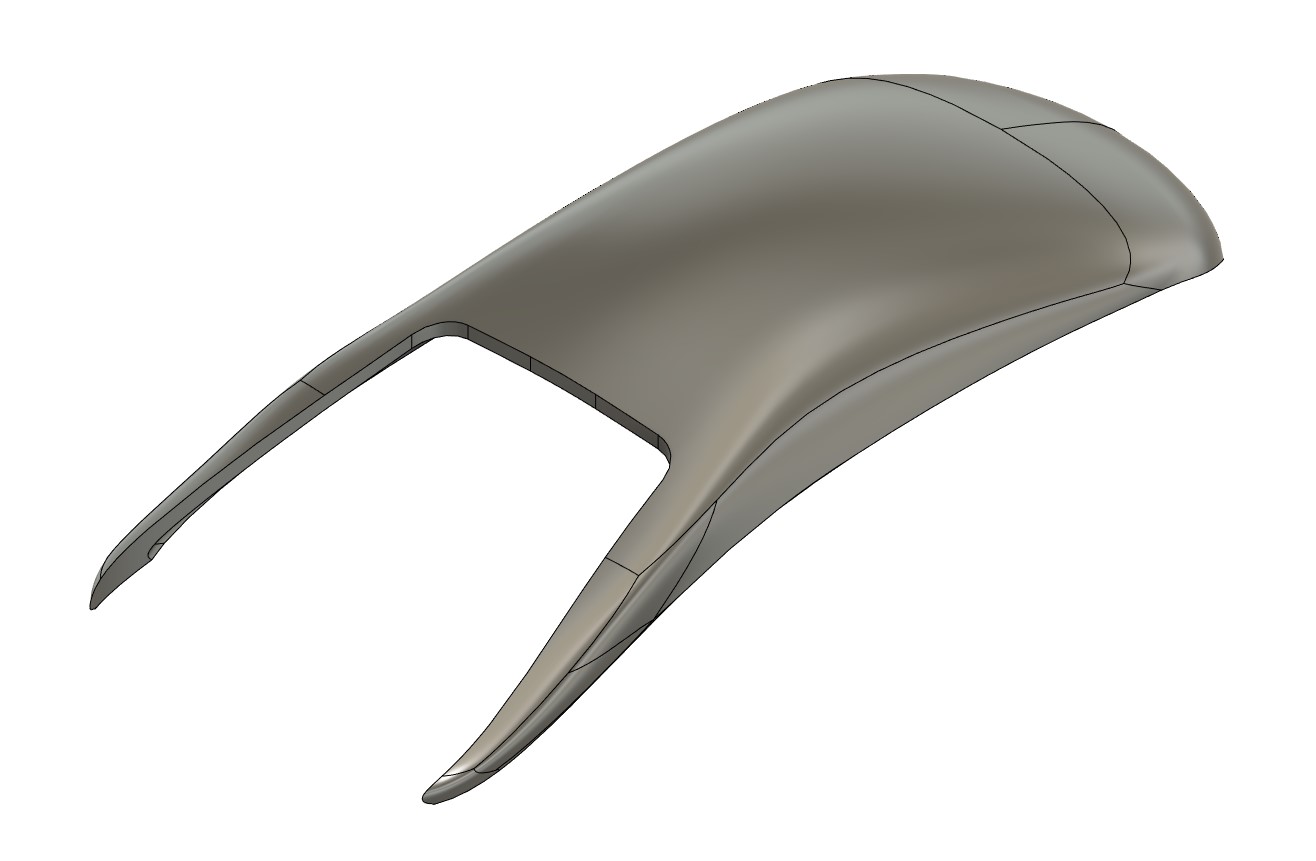
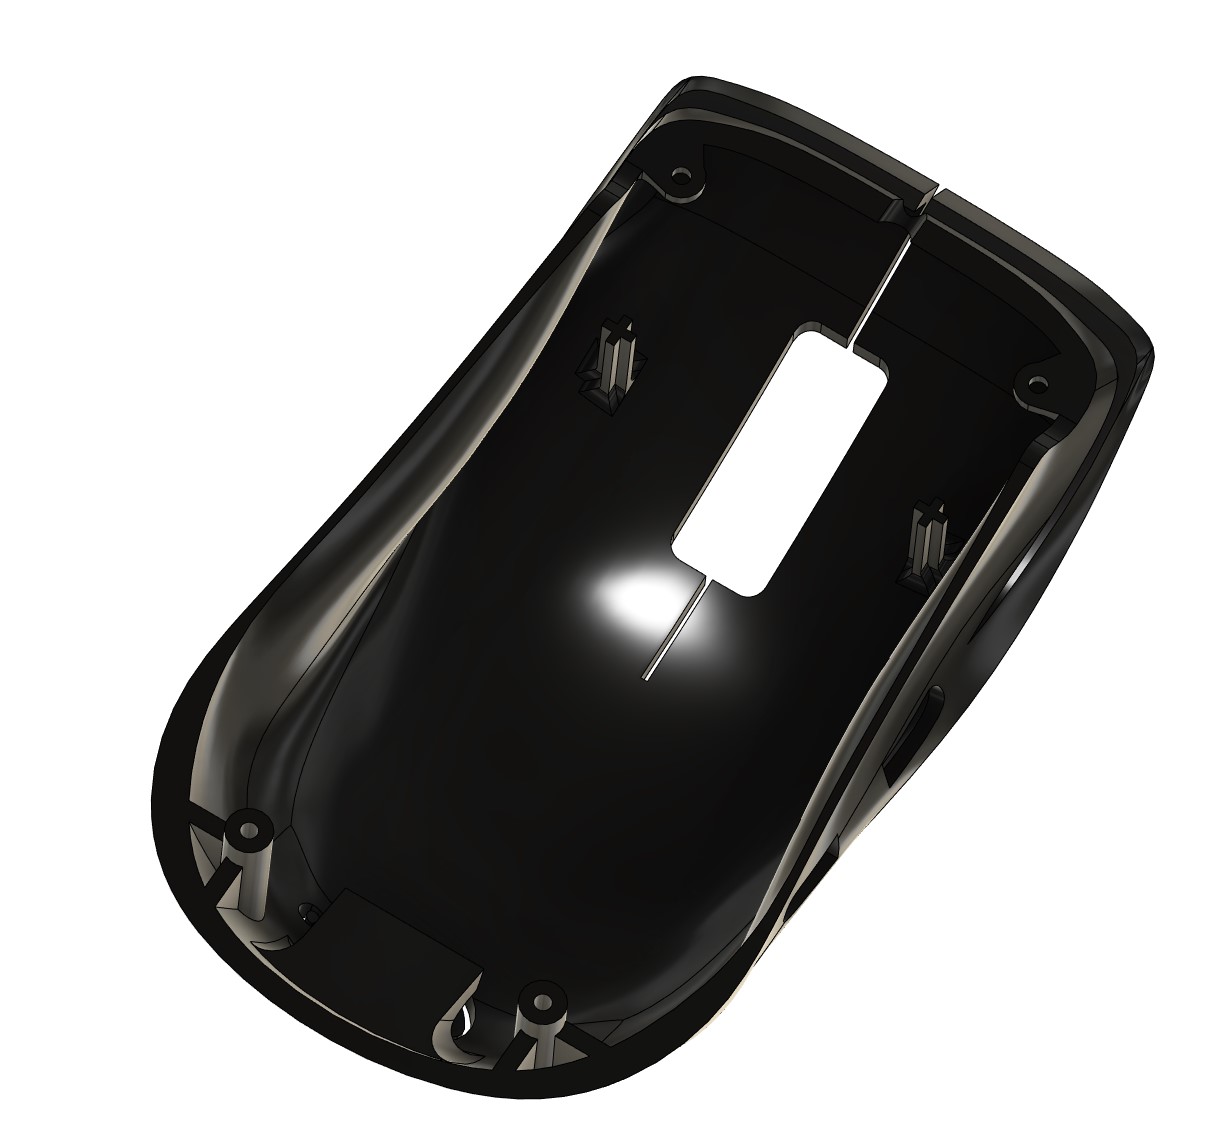
Now came time to create the top of the mouse. The switches for left and right click needed to be pressed, which means the top body had to have a way to create a fulcrum for the buttons. a simple cut across the body created a separation point and a good way to convert your presses, into clicks. MB1 and MB2 were created on the side, with 0.4mm spacing to ensure the throw wouldn’t interfere with the main body.
Now it came time to add spaces for fastening. Because of space limitations I had to secure the top and bottom pieces at the front of the mouse, which is not ideal from an asthetics standpoint, but time was running out and redesigning the mesh body was going to cause so many things to need rework so I had to make the concession.
Adding some additional supports to the mouse upper body around the connection holes and fillets around the Leftclick + right click bases helps with 3D printing and making sure the components can support longer term use.
One last fit test!
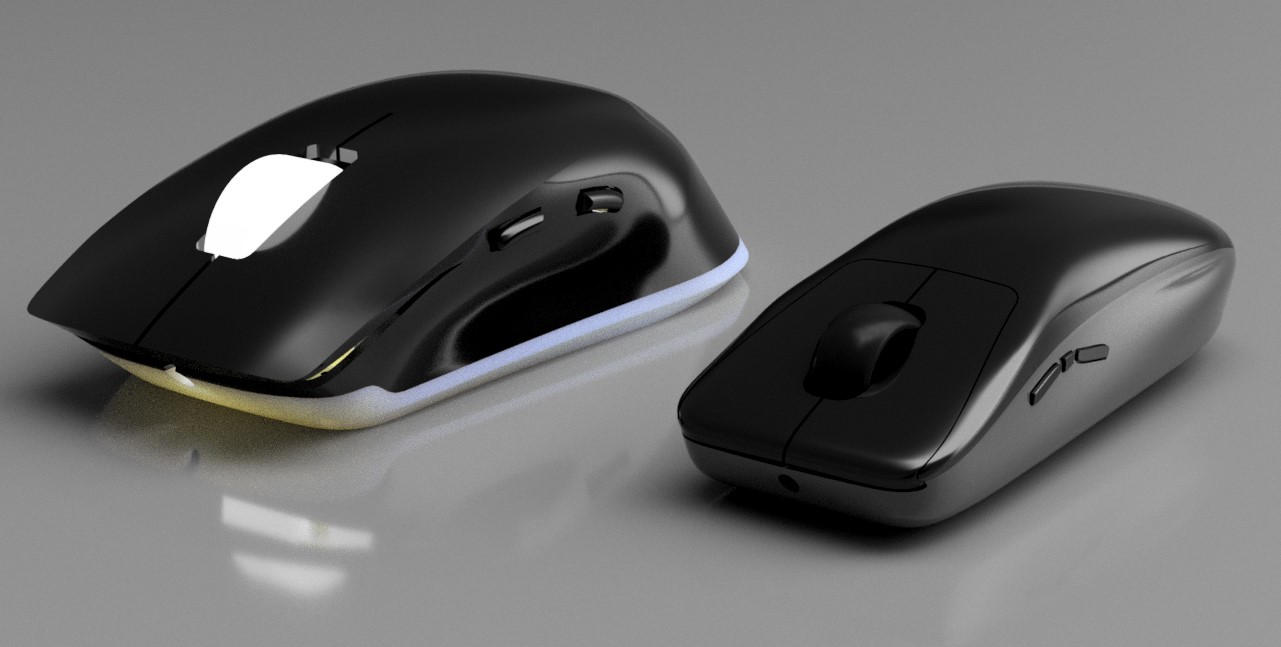
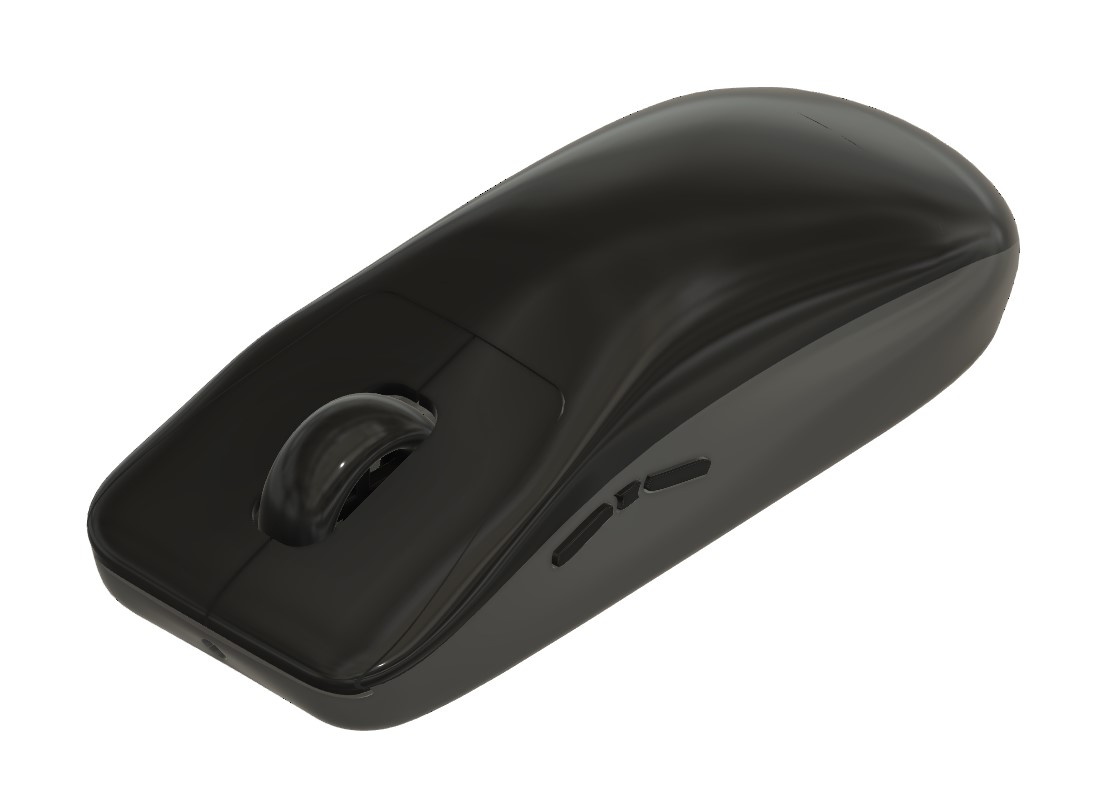
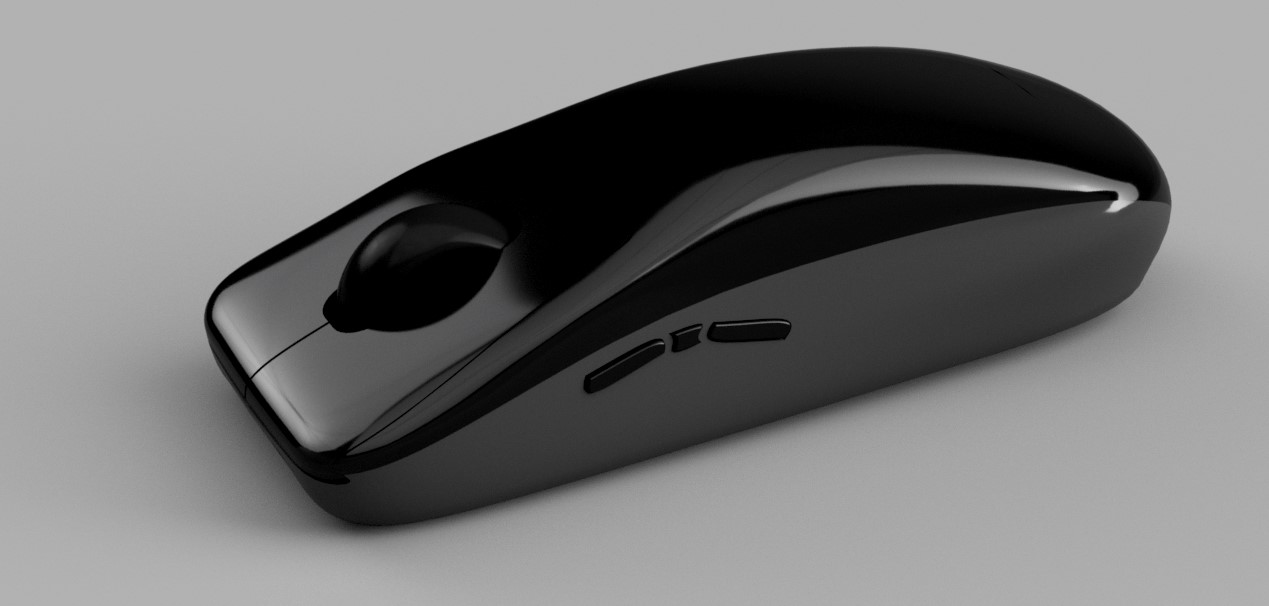
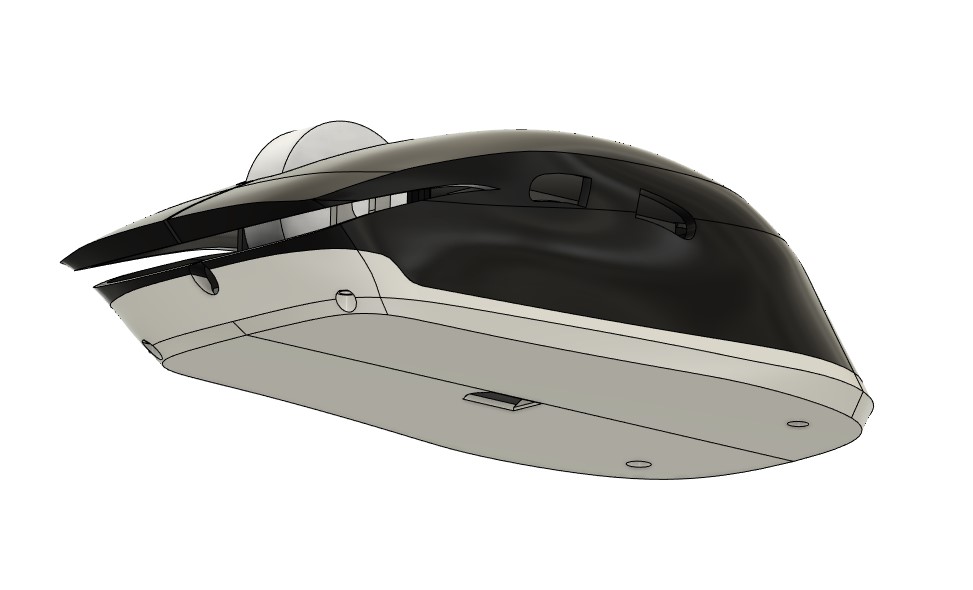
Here’s the finished model!
and some renders!
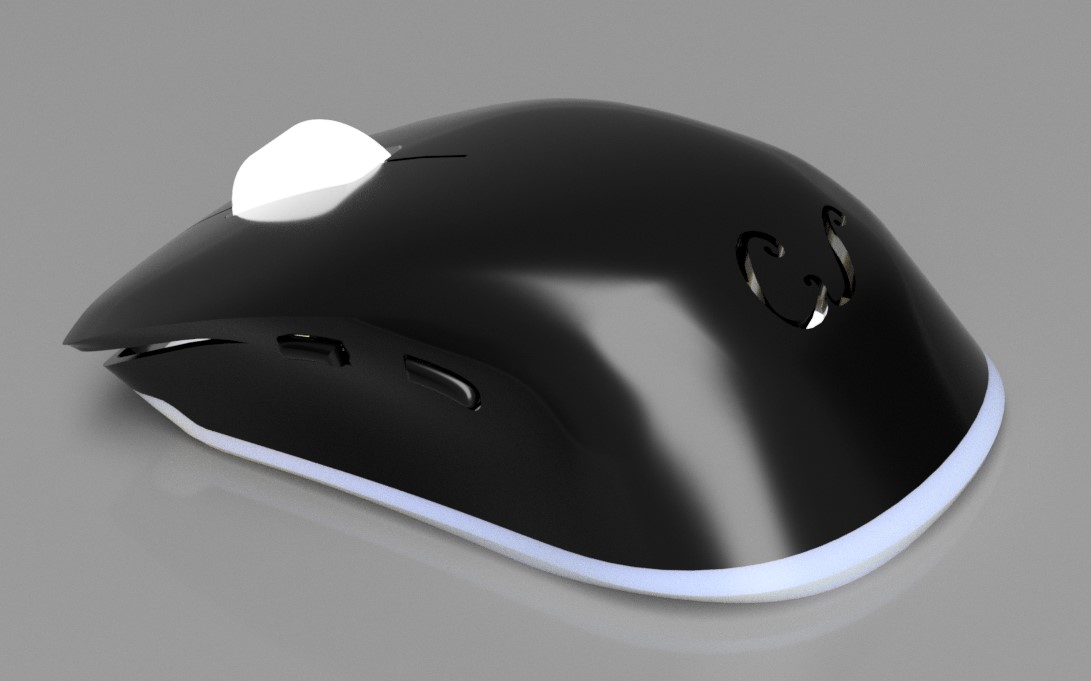

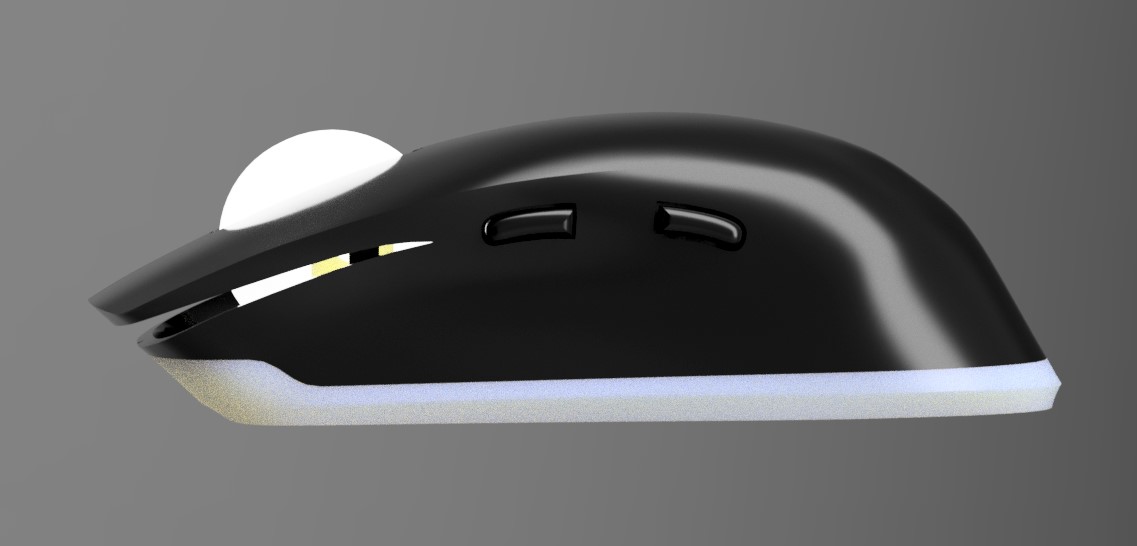
There is a lot that could be improved in this design, but I’m happy with the outcome given a 48 hour time constraint!